
I cannot tell a lie: I have been putting off this build. This kit has so many basic accuracy problems that are obvious as soon as you open the box that I seriously considered not bothering. But I’m not by nature a giver-upper, so it’s time to grit my teeth and see how the Airfix 1/72 Tiger builds up.
I had considered trying to correct some of the main accuracy problems, but that’s not easy and you’ll still end up with a kit with soft detail. So instead, I’m going to build this straight out of the box. I start with construction of the lower hull. Fit is OK, though there are some minor gaps and four obvious ejector marks on each hull side, though I believe that these will be completely hidden by the tracks and roadwheels.

I add the upper hull and sides, after drilling out 16, 1mm holes. Why? These aren’t holes for optional parts, they need to be there. So why not just include them in the mould? Airfix advertising suggests that this kit may be suitable for a beginner, but I’d guess that many beginners won’t have access to a 1mm drill and as you need to drill out no fewer than 30 holes here in total (14 are required in the turret) , that could be a major problem.

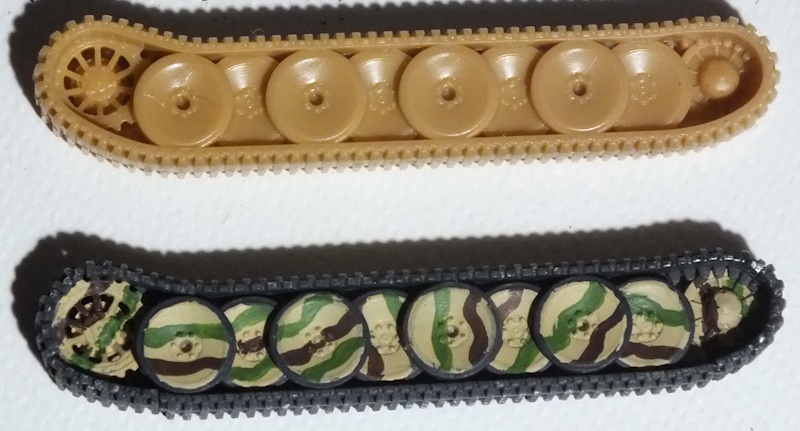
Construction of the tracks and running gear is a little different here. I’m going for the link and length track option, and these are constructed by building the roadwheels (two blocks of 8 roadwheels plus 8 single wheels per side), idlers and sprockets as modules, adding the tracks and then fixing these completed units to the hull. The inner and outer blocks of roadwheels also mount the idlers and sprockets. The idlers fit between the two blocks of roadwheels and the sprockets fit to two tabs at the front – the image below from the instructions shows the assembly and the two tabs to which the sprocket is attached, arrowed.

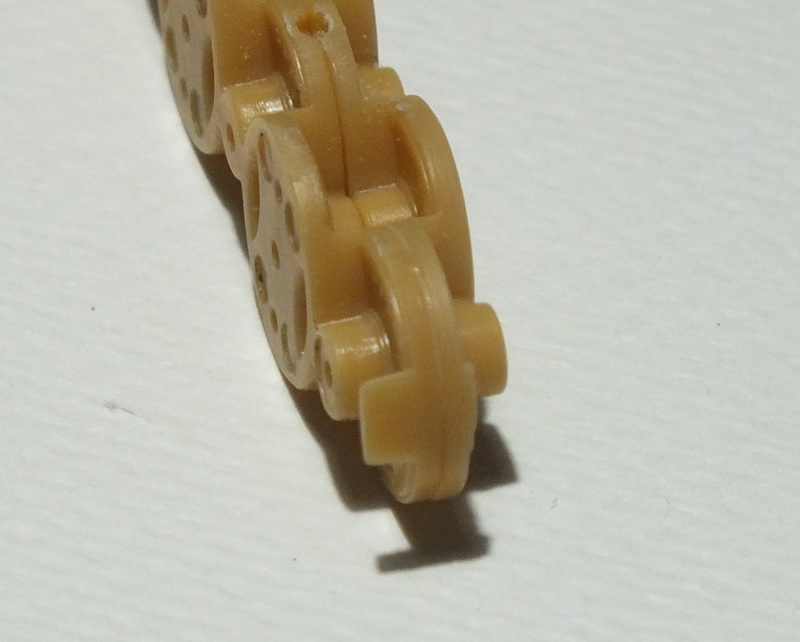
The problem is, two of the four sprocket mounting tabs are missing here. This looks like a moulding issue and on both inner roadwheel assemblies, the tab is missing. In the image below, you can see that on the outer assembly (to the right) the tab is present, but on the inner assembly on the left, there is just a small blob of plastic, arrowed.

I hope it will be possible to work around this, and it’s probably a measure of just how good modern injection moulding methods are that this is one of the few occasions where I have come across a problem with a kit that appears to have been caused by plastic failing to completely fill the mould. You can see what I mean on the completed roadwheel assembly below.
This isn’t the end of the world by any means, but it is surprising on a kit first released just a couple of years ago. I get both assemblies done, temporarily placing them on the hull to make sure that the sprockets and idlers line up correctly. The attachment of the sprockets is a little fragile due to the missing tabs, but I’m hoping that won’t matter too much.

I’ll be painting the outer single roadwheels and tyres before I put them in place, so next, I check the tracks. And there are problems here too. Most notably, on the three double links that are intended to go over the idlers on each side. The pitch between the guide horns is a little too narrow to fit over the idlers. I assume that a little sanding should sort this out (which will also be needed where the larger runs touch the idlers) but it seems odd – these parts just don’t fit, and you’d imagine that someone at Airfix at some point of the development of this kit might have noticed this…

I paint the running gear and add the tracks and, apart from the issues where the tracks need to be sanded to fit over the idlers, this is straightforward. Fit isn’t perfect, but it’s probably close enough. I like this method of building the track/running gear assemblies separately and it does make track construction simpler, though I do feel that the tracks here are perhaps a little too thick.

However, the at least tracks here are thinner than those on the one-piece track/running gear assemblies, and I think that probably makes it worth going for this option.
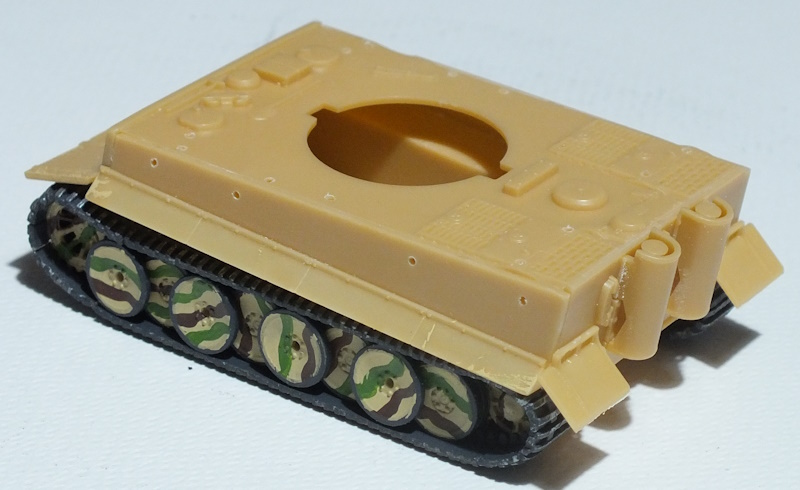
I mount the track assemblies on the hull and they fit with no problems at all.

Then, I complete hull construction other than for the tow cables and jack which I will add when main painting is done.
Next, the turret, Basic construction is fine (other than for the need to drill out 14 holes…) and fit is pretty good. The turret on the Tiger tank was asymmetric, and that’s something that’s depicted on many recent Tiger kits, but not here…

The turret is completed and that’s construction pretty much finished.

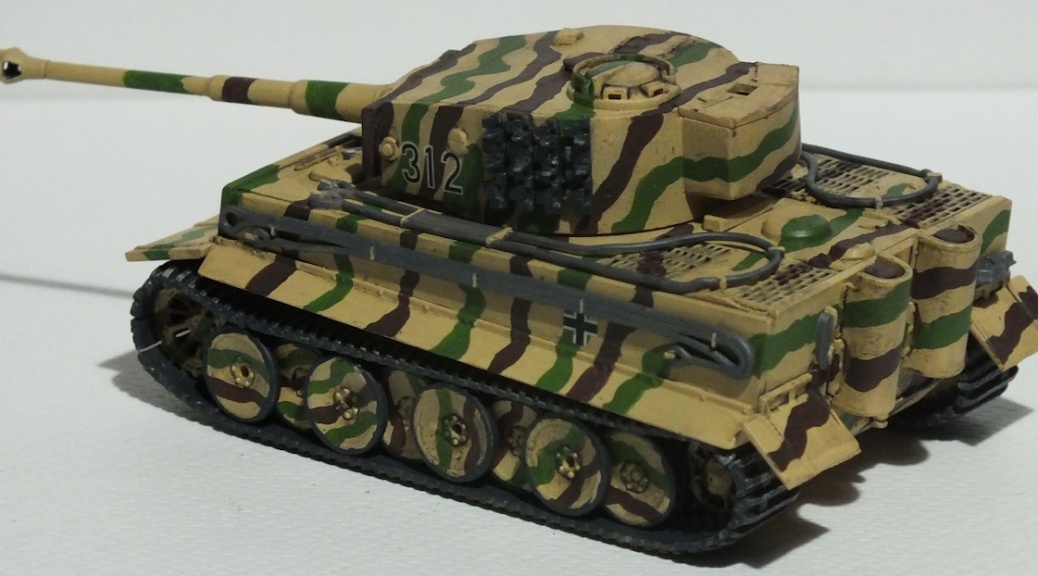
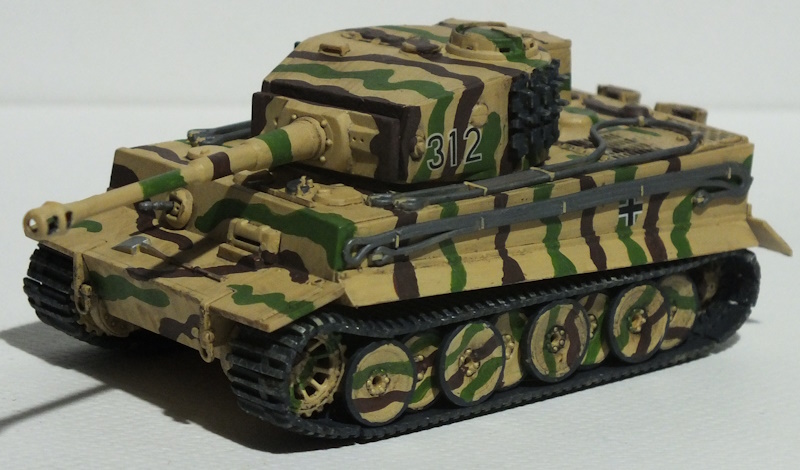
Everything gets a base coat and a two-colour camo scheme. Yes, I know, it’s not my finest paint job, but I’m struggling to muster much enthusiasm for this build!

I paint the moulded-in-place tools and add the tow cables, jack and spare track links on the turret (though I lost one of the spare track links to the carpet monster) before adding decals, though I go for generic markings out of the spares box rather than using the supplied decals because this is the wrong model of Tiger for that used by Michael Wittman in 1944.

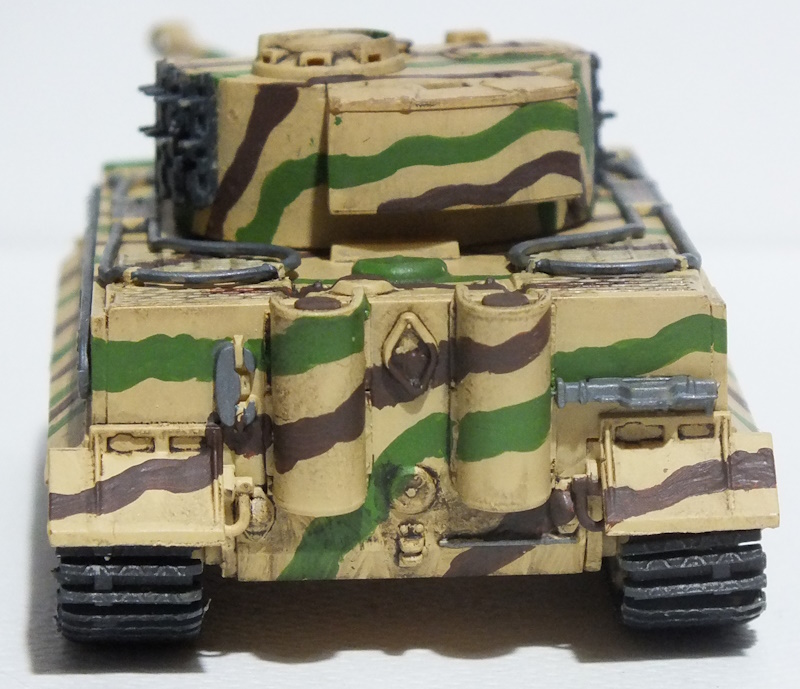
I add a coat of varnish and a brown oil wash to tone down the camo scheme, highlight shadows and to bring out things like the rear deck grilles and that’s this Airfix Tiger done.


After Action Report
Look: this isn’t a wholly terrible kit, OK? But it isn’t a particularly good one either. The principal problems concern overall inaccuracy and generally soft detail, but at least construction is fairly straightforward. I did consider attempting to correct some of the major accuracy issues here, but that isn’t easy. The incorrect placement of the side-skirts, for example, makes the hull side view and the general “sit” of the finished model look wrong. But these are moulded as part of the hull sides so, if you want to correct this, you’ll have to cut off the existing side skirts and build your own to replace them in the correct position.

Then, you’ll want to sand off and replace the driver and gunner hatches with something closer to the correct size and to replace the gun mount with something that’s straight and not tapered. You’ll probably also want to replace the tow cables with something closer to scale and including detail, to thin out things like the exhaust shields, and to sand off and replace the not terribly convincing moulded-in-place tools. And if you do all that, you’ll still have a Tiger tank with a turret that’s incorrectly symmetrical and I can’t think of any way of fixing that problem. It’s difficult to escape the conclusion that you’d be better off simply buying a better 1/72 Tiger kit in the first place.
Perhaps this might work as a kit for an inexperienced modeller, particularly if they used the one-piece track/running gear assemblies. But they would still be faced with the need to drill a plethora of tiny holes. When Airfix first announced that they were bringing out a new range of 1/72 armour and vehicle kits, I was irrationally excited and I hoped that this might herald the beginning of a whole new range of Airfix small-scale armour that was as good as their recent 1/72 aircraft releases. That didn’t prove to be the case and to date, only this Tiger and the Sherman Firefly have been released. Having looked at this one in detail, I can’t say that I’m too disappointed about the lack of subsequent 1/72 Airfix armour kits.
Come on Airfix, I know that you can do better than this!
Related Posts
Airfix 1/72 Tiger I (A02342) In-Box Review and History
Airfix 1/72 Sherman Firefly Vc (A02341) Build Review
