

I begin by assembling the lower hull, and all the parts locate positively and fit well.

Then, I add the suspension bogies, sprockets and idlers on each side. I’m planning to complete and paint the lower hull, tracks and running gear before I add the upper hull. I decide to use the Humbrol actylic paints supplied with the Classic Combat set, just to see how they are. And in general, the Olive Drab is fine and covers well, though perhaps it’s a little dark for a British tank. My only concern is that there really isn’t much paint in each pot – I hope I’ll have enough to finish!

Then I work on the tracks. I begin with the left-hand side. There are just six lengths of track, and these do assemble much more easily than standard link-and-length tracks. However, there is an odd problem – the track lengths are around half a link too long and I have to cut away part of the length that runs from the idler down to the bottom run to make it fit.
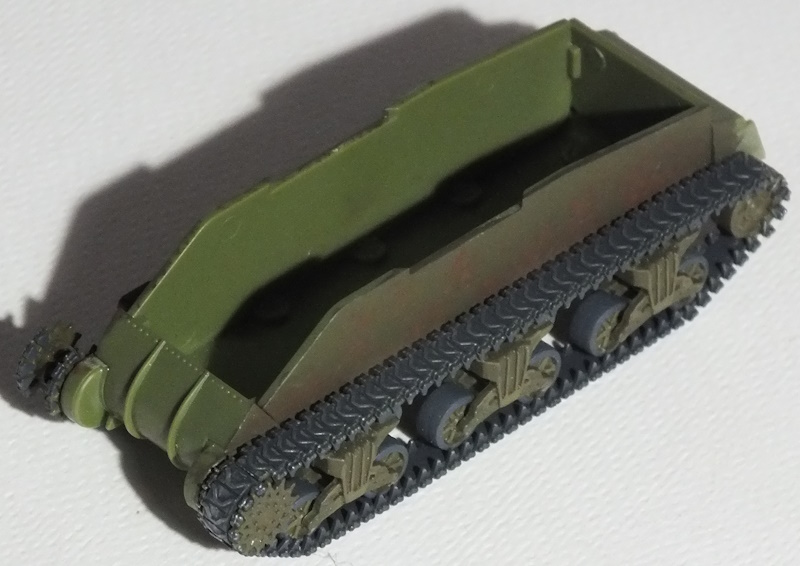
Then I do the right-hand side, and this assembles with no problem and no need for trimming – strange!

I rather like this approach to track assembly. It’s fairly easy and the result looks much better than vinyl tracks. Next, I work on the upper hull. Mine came with a small crack on the left-hand mudguard, though this is very small and easily filled.

Then I add the rear hull plate, having cut off the mudflaps and drilled the two locating holes for the rear stowage box.

Next, the lifting rings and headlights, and these too are a little different to usual. Each part is mounted on a small base, and all are installed in the upper hull from below.

When in place, they look fine. But it does seem odd that Airfix have decided not to include any of the turret lifting rings using the same system.
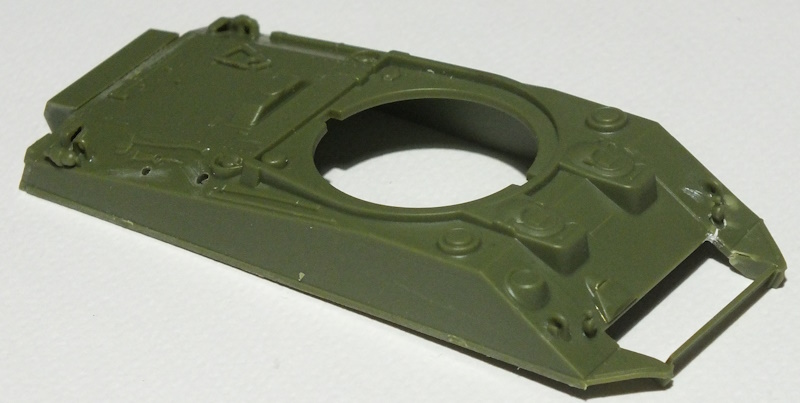
I then join the upper and lower hulls. Fit is good and no filler is required. Overall, hull construction is very straightforward (with the exception of the minor track issue on the left side) and no filler was required anywhere except to fix the cracked front mudguard.

Next, the turret and, with fewer than 10 parts, construction doesn’t take long. I drill out the sides of the muzzle brake and add some lifting rings from the spares box.
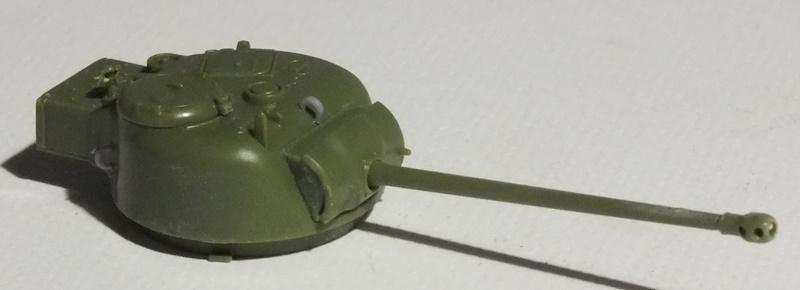
The turret sits nicely on the hull. And that, apart from the stowage items and the shovel, is construction done. No problems and fit is really very good – the only place I used any filler at all was on the small crack on the front left mudguard.

Next, painting. Everything gets a coat of the olive drab supplied with this kit. And, despite my concern, there is more than enough paint to do the whole tank.

Then I paint the tools (which is tricky, because they’re tiny and the mouldings lack definition), add the shovel (which is a really strange shape) add the decals to the hull (and some of them just don’t want to come off the backing sheet – I cracked and damaged the “Belvedere” decal on the left side) and some dry-brushed highlights.
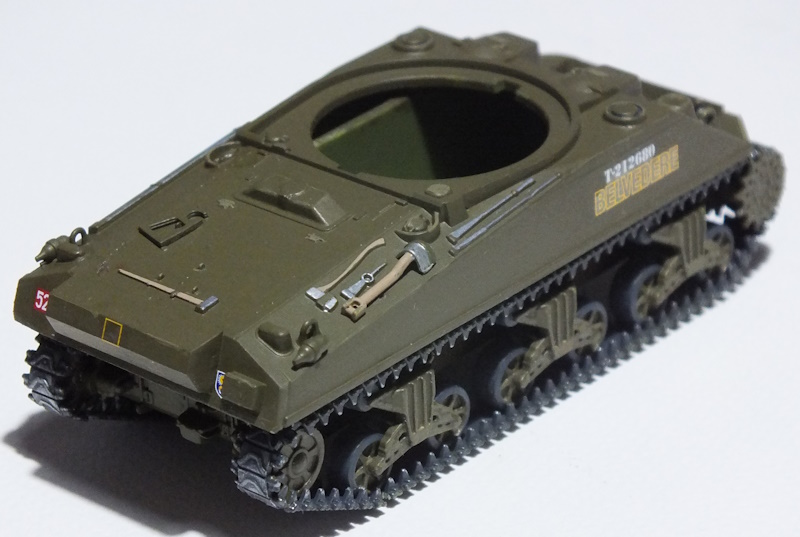
I then add a few stowage items and spare track links to the front hull, give everything a coat of varnish and then a light wash in dark grey oil to accentuate the shadows. With a final dusting of artist’s pastels to simulate mud and dirt, this Airfix Sherman Vc is done.


After Action Report
I thoroughly enjoyed this build. Construction was about as simple as it gets. There were no problems, nothing difficult, no tiny parts and fit was very good indeed. I like the method of construction for the tracks provided here. It’s easier than link-and-length tracks and, IMHO, looks better than the one-piece option or most vinyl tracks. Overall, I think this turned-out OK.

This is a pretty good kit that would suit less experienced or beginner kit-builders and you could probably complete it to a reasonable standard using only the paints provided. The main problem here is that this is a crowded market and there are other 1/72 M4 kits out there that are way better than pretty good – the Heller M4A2, for example, is simply outstanding (although it has vinyl tracks that are rather short) and it costs around the same as this new Airfix kit. If you want to spend a little more, the Dragon Sherman Vc has more detail and sharper mouldings.
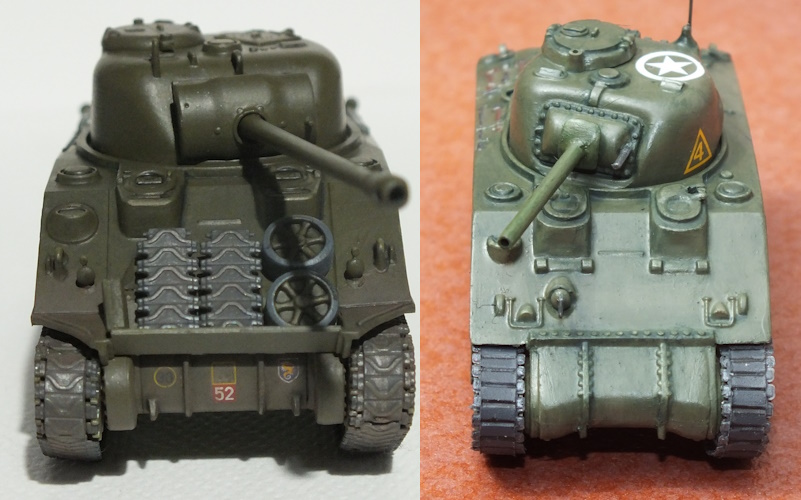
60 years of armour kit history. 2020 Airfix 1/72 Sherman Vc (left) and 1961 1/76 Sherman I (right).
Perhaps Airfix are going back to their roots here, and providing a pocket-money-priced kit suitable for modellers of all skill levels? If so, they are to be applauded and I certainly hope we’ll be seeing more, new Airfix 1/72 armour kits in future. If, like me, you value a simple build and you’re willing to accept detail that is less than 100% complete – go for this one. If you want absolute fidelity, you may want to look elsewhere.
Related Posts
Airfix 1/72 Sherman Firefly Vc (A02341) In-Box Review and History
And for a blast from the past:
Airfix 1/76 M4 Sherman Mk. I (A01303V) Build Review
To see why I rate the Heller M4A2 so highly:
Heller 1/72 M4A2 Sherman Division Leclerc (79894) Build Review
