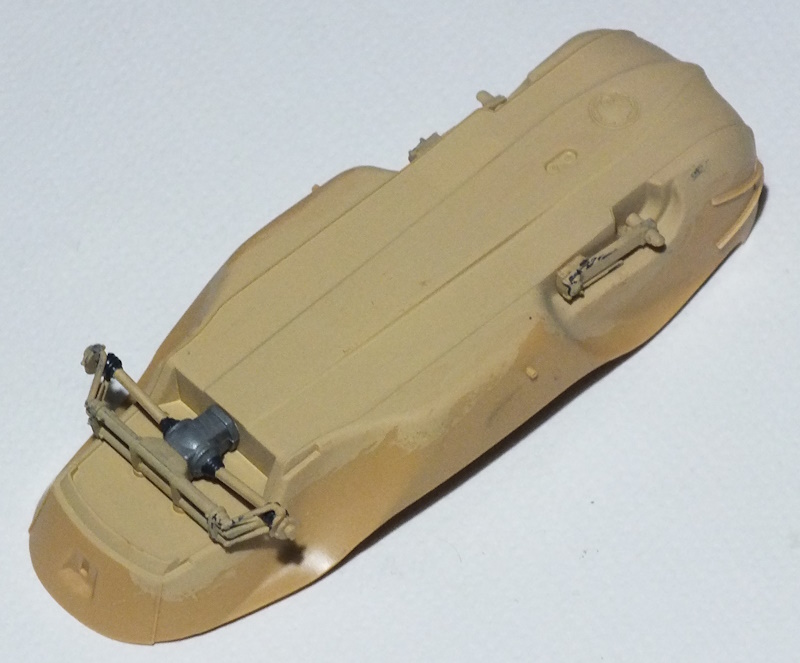
I begin the build with the engine compartment. This is basically a separate section that drops into place in the rear hull and I want to see how it looks – if it’s OK, I’ll leave the rear access hatch open. If not. it will be closed. After building and painting, I think it looks OK – there are relatively few parts here, but they’re sharply moulded and seem to provide a reasonable representation of the Schwimmwagen engine, so I’ll be leaving the engine compartment hatch open.

I continue as per the instructions by adding the suspension and drive to the lower hull.
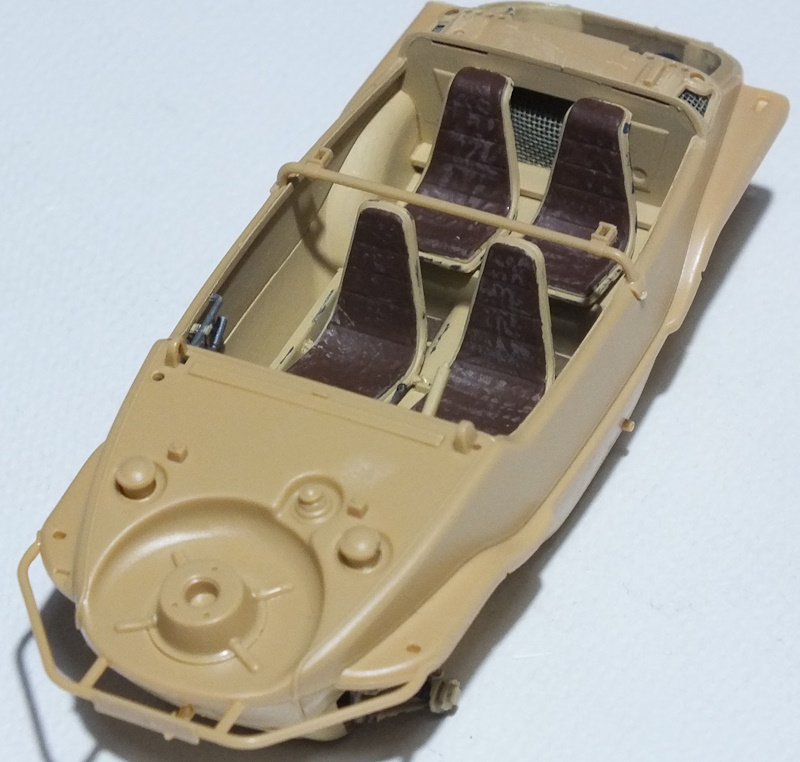
I then add the completed engine and interior into the lower hull.

I then start work on the upper hull, and that involves glueing pieces of plastic mesh to curved parts of the bodywork. The instructions do include templates for the mesh, which is helpful and there’s plenty of spare mesh if you do get it wrong. I used superglue and, as usual, I found it remarkably easy to glue my fingers to the bits of mesh, to the plastic parts and to each other but fiendishly difficult to get the small bits of mesh fixed in approximately the right place.

The rest of construction of the upper hull is less stressful and doesn’t involve gluing myself to items of furniture or to my cat. I then join the upper and lower hull. Fit is great and the joint between the upper and lower halves follows the ridge along the side of the vehicle, so it’s completely hidden. Just as in the Kubelwagen though, a decal for the tiny speedometer would have been helpful.

Next, I add some parts to the hull and then I give it several thinned coats of Dark Sand.

Then, I give it all a two-tone camo scheme and add some dry-brushed highlights and some light chipping.

Then, I add the decals and the wheels and give it all a coat of varnish and a dark brown oil wash.
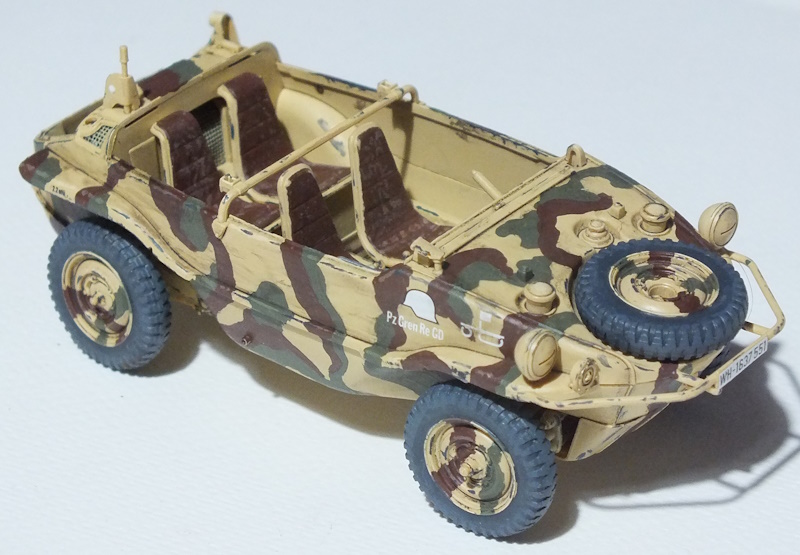
Then, I add the remaining bits and pieces to the hull.


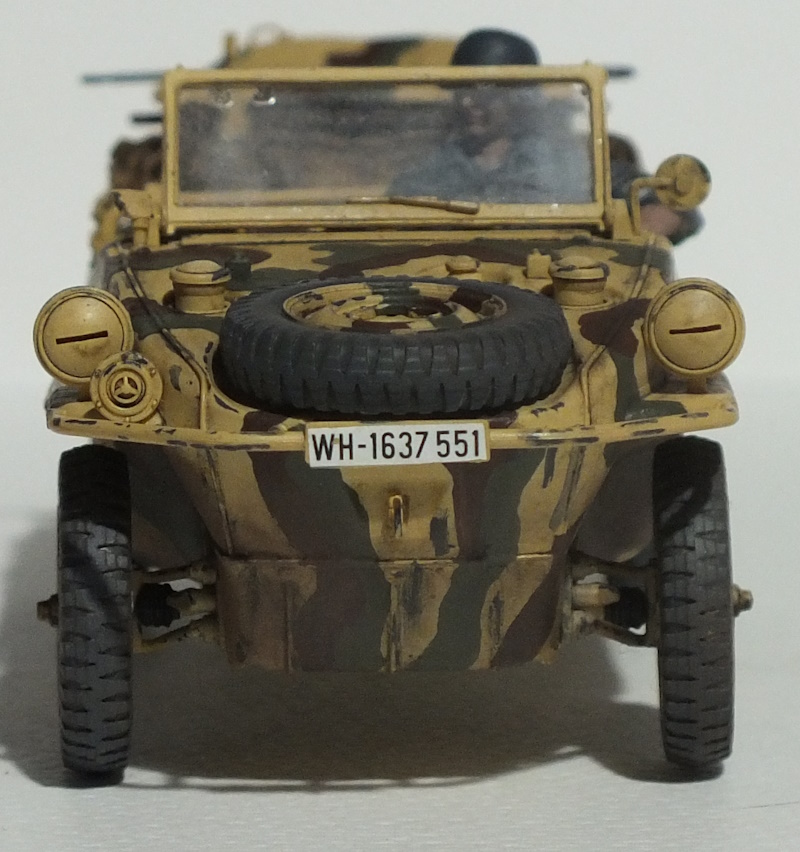
And that’s pretty much the construction of this Tamiya Schwimmwagen done. It’s all straightforward, there is virtually no flash and fit is generally great – no filler was used here at all. The only part that isn’t in place yet is the steering wheel – you have to leave that off until the driver is in position, and I work on him next.

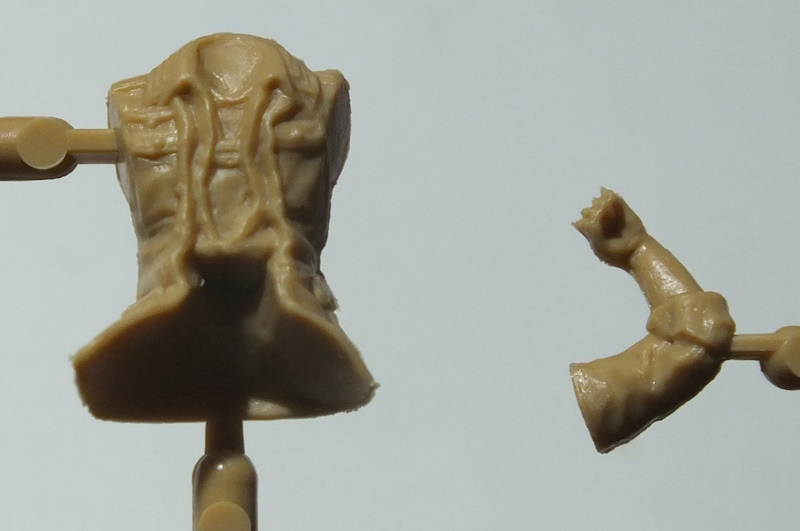
The figure seems reasonably sculpted, assembles easily and fits in position, though I can’t help but feel that a soft cap rather than a steel helmet might have been a nice option – he looks pretty relaxed. I paint the figure, place him in position, add the steering wheel and a dusting of pastels and that’s this Schwimmwagen done.


After Action Report
Just like the Tamiya Kubelwagen I did recently, this was a simple, straightforward build and I feel that it builds into a decent representation of the Schwimmwagen. OK, there are probably small items you could add, and some stowage items would make it look even better, but what you get here is pretty decent.

There really isn’t anything challenging here in terms of construction and you end up with something that, IMHO, looks pretty much like the original. It has enough detail to be convincing but comes without the tiny parts that can make the build (for me at least) frustrating.

I like the fact that the engine is provided here, unlike the Kubelwagen kit, though, just like in that kit, a decal for the speedometer would have been nice and additional stowage items would have helped to make the interior look busy. Despite those minor issues, if you want to build a 1/35 Schwimmwagen, I can heartily recommend this one. Just don’t be tempted to take it in the bath to see if it floats…
Related Posts
Tamiya 1/35 Schwimmwagen Type 166 (35224) In-Box Review and History